
I had a quick search online and there does not seem to be a guide for this so I will document my disassembly of my Viewsonic VG2436vm-LED 24″ monitor.
N.B. *** BEFORE YOU GO ANY FURTHER ***: I just spent a long time part disassembling this and it was not worth the time and effort for me personally. This will document taking the plastic surrounds off of the unit. After that I got stuck because the rest was (badly!) held together with special conductive sticking tape and the like, which I had no replacement for. A bit of a disappointing build quality from this particular Viewsonic product. I have seen other Viewsonic models that were not so shoddily manufactured. This particular model was not their cheapest either. Minus 50 points Viewsonic!
Disassembly Begins
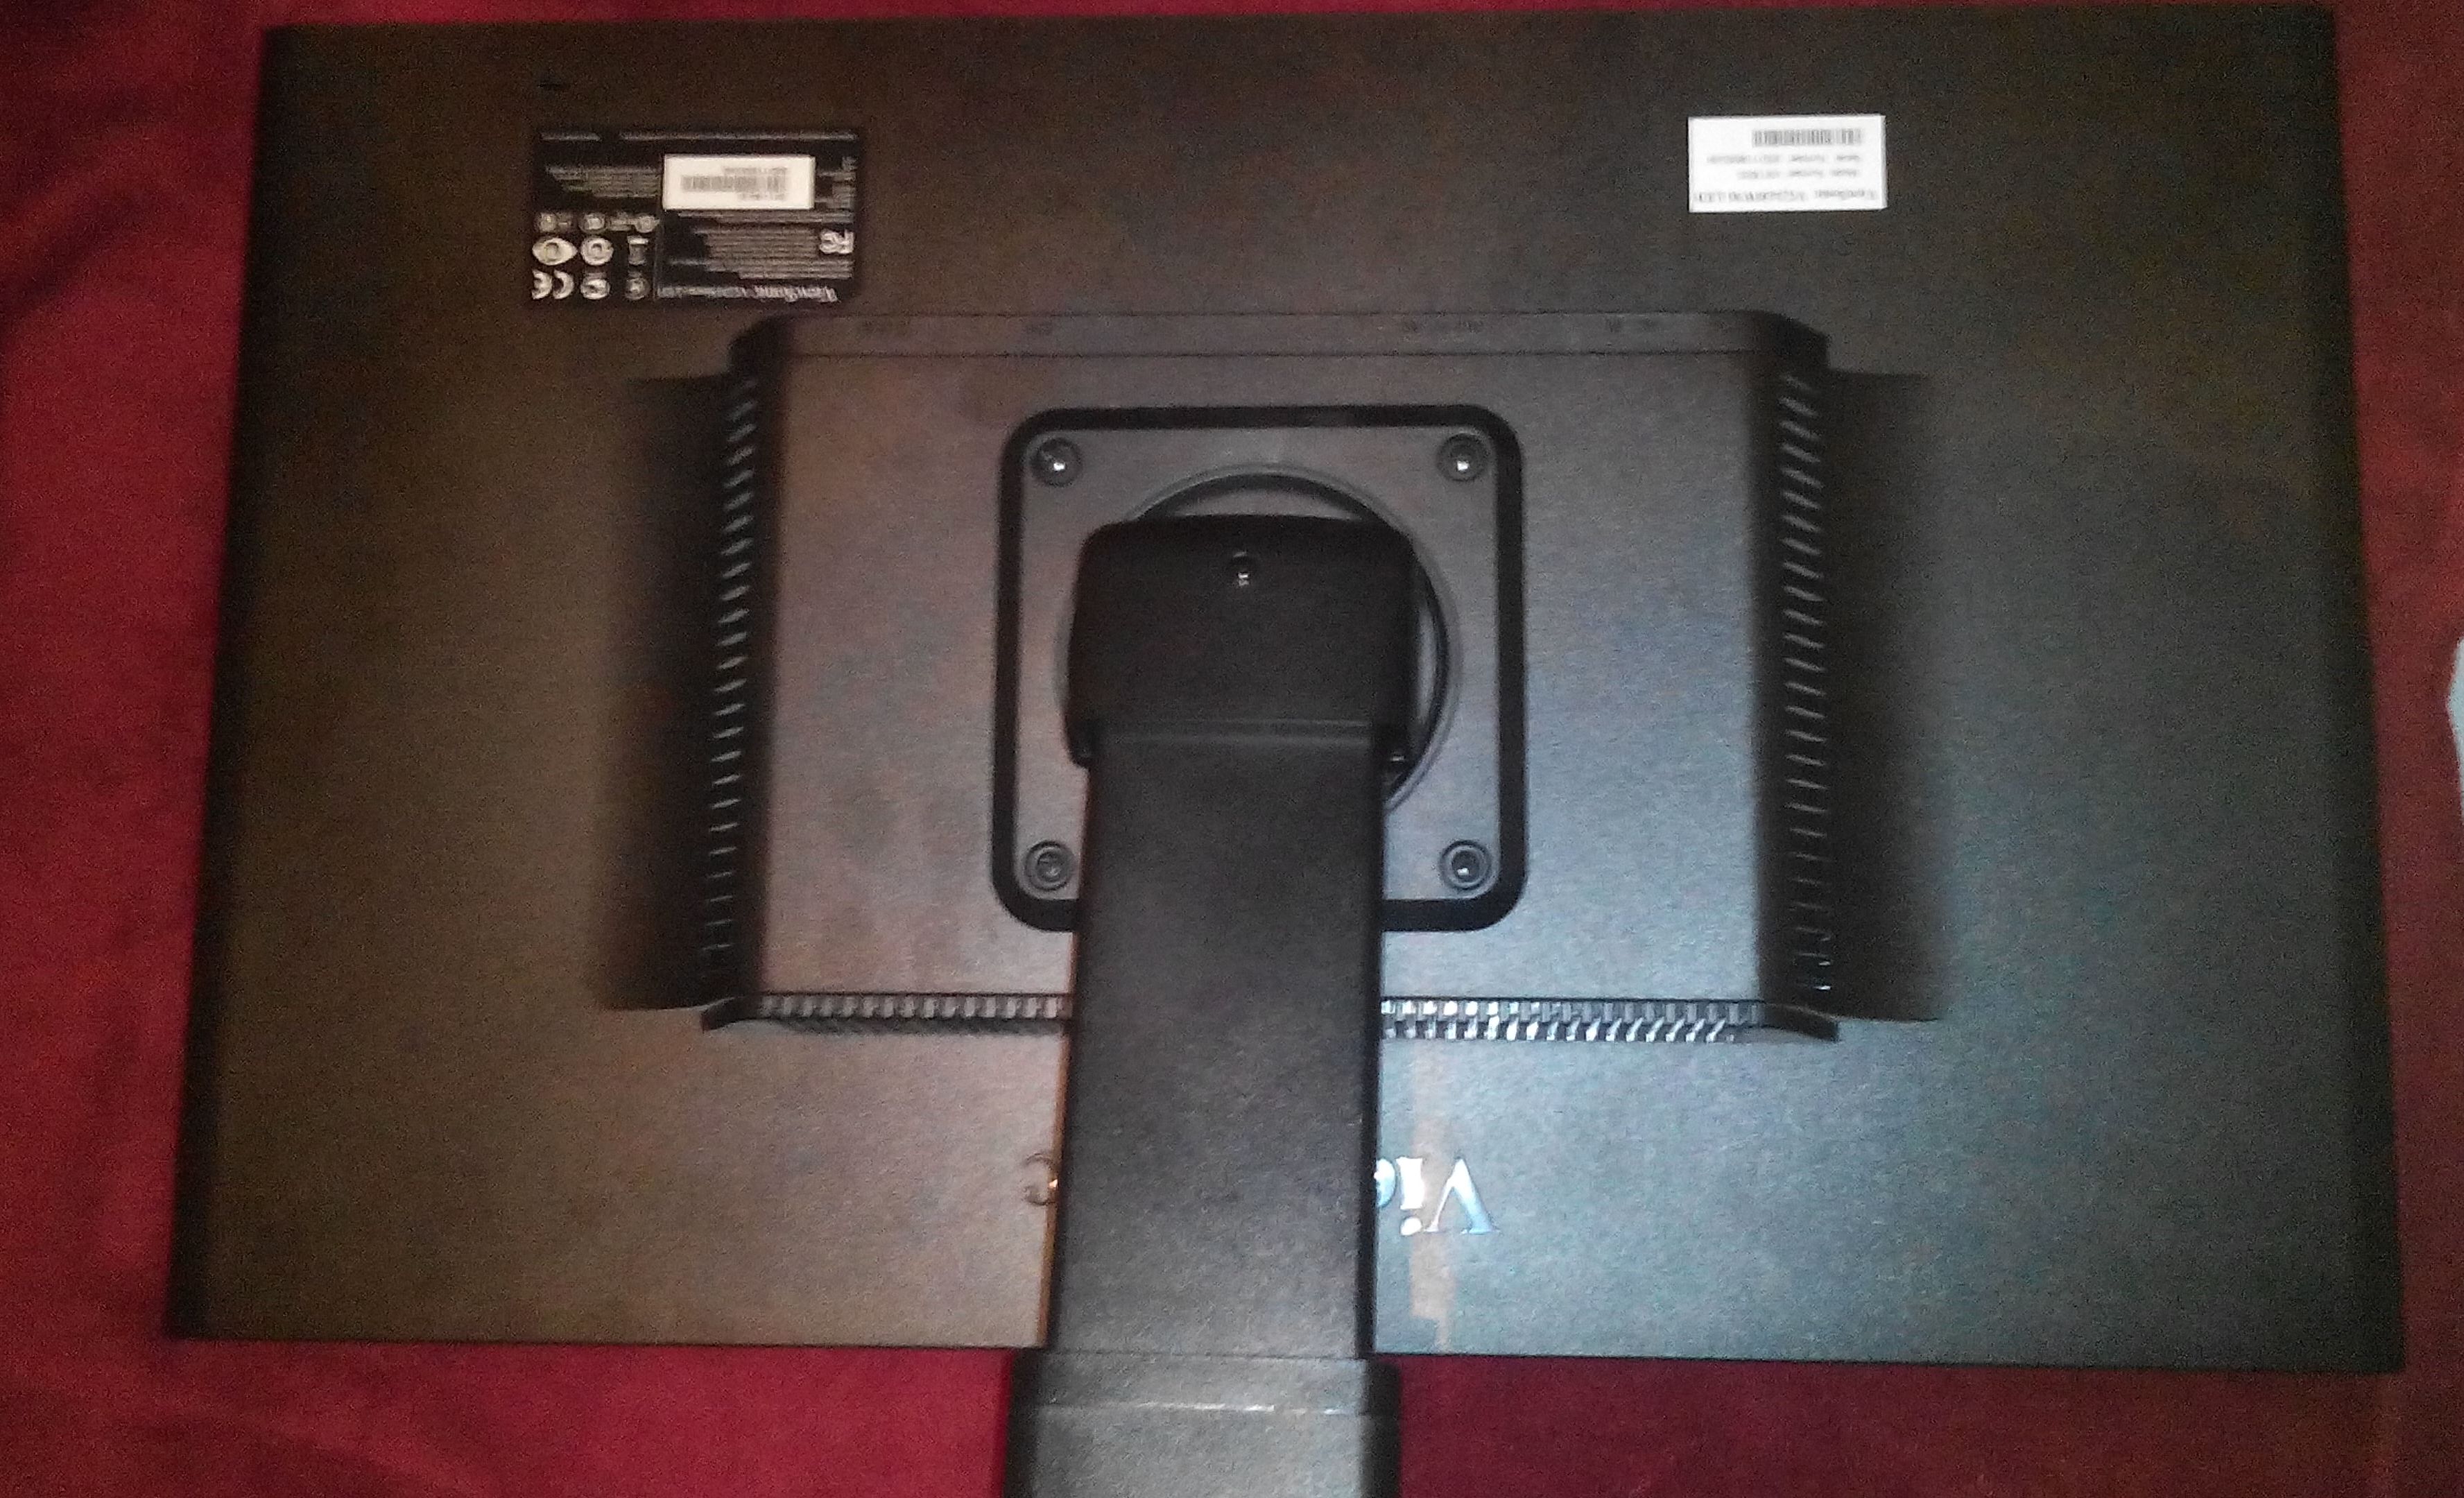
First put the monitor screen face down on something that is not going to damage / scratch the screen panel.
Remove Stand
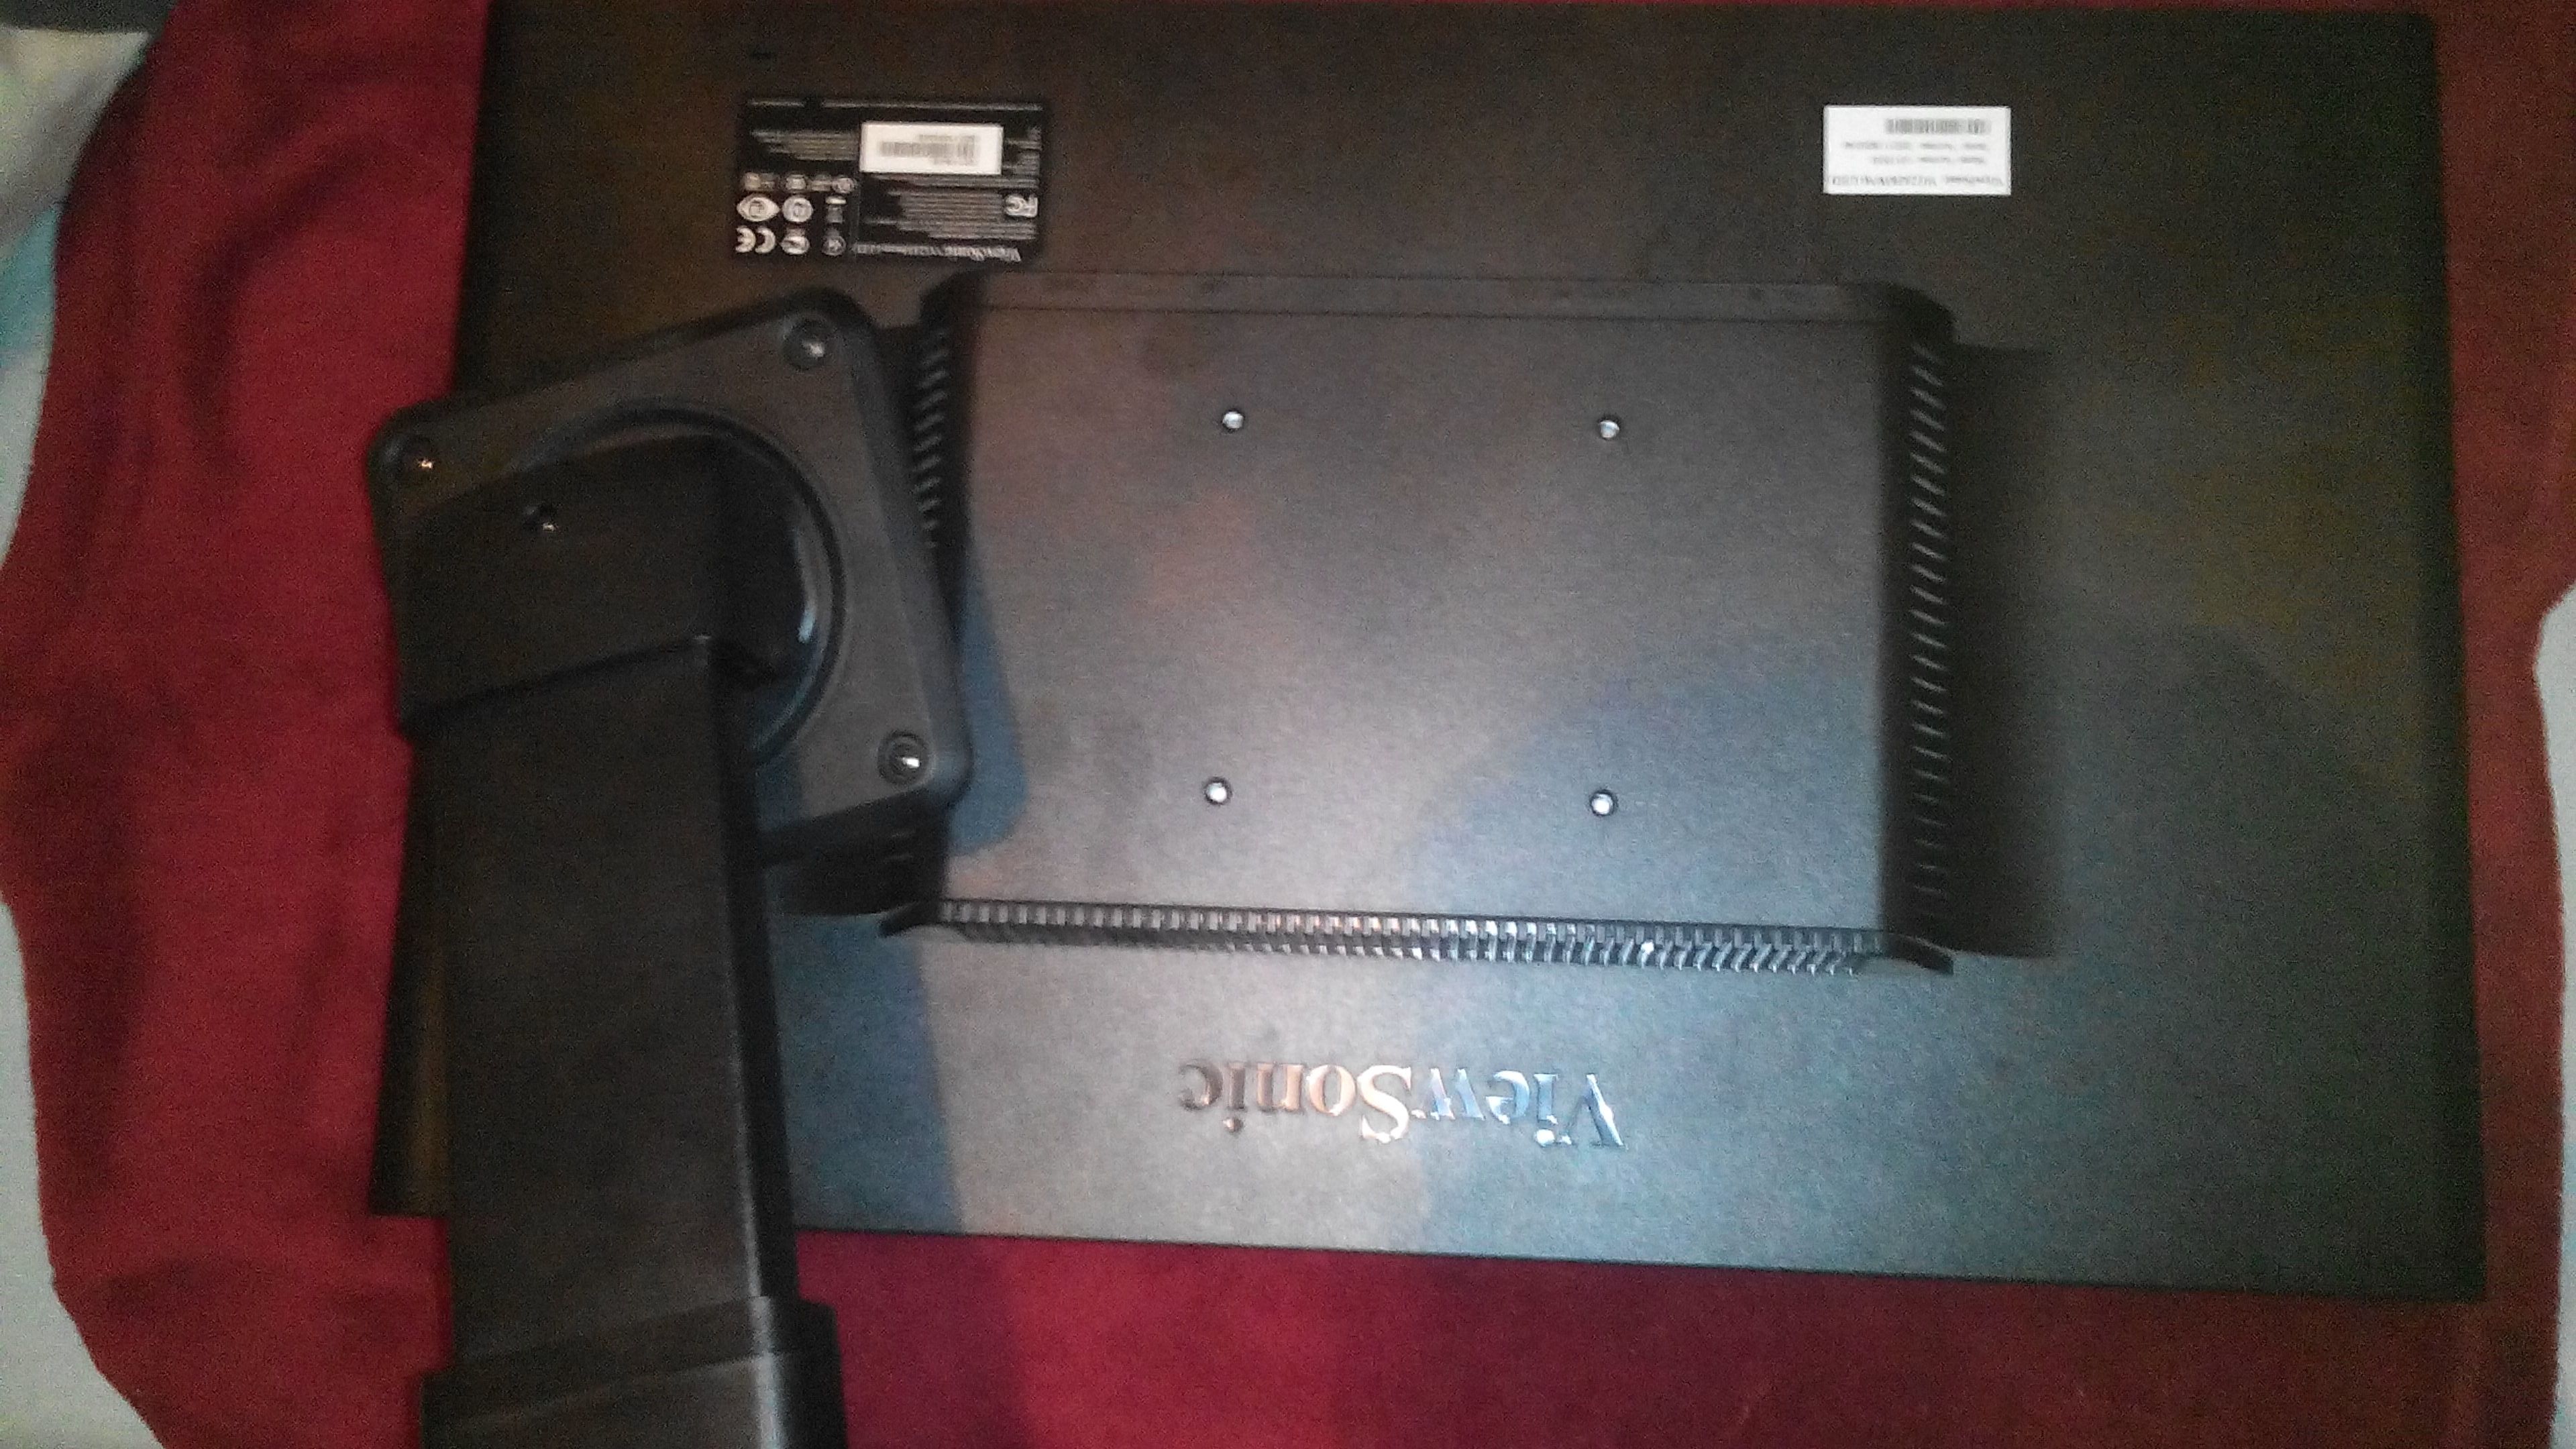
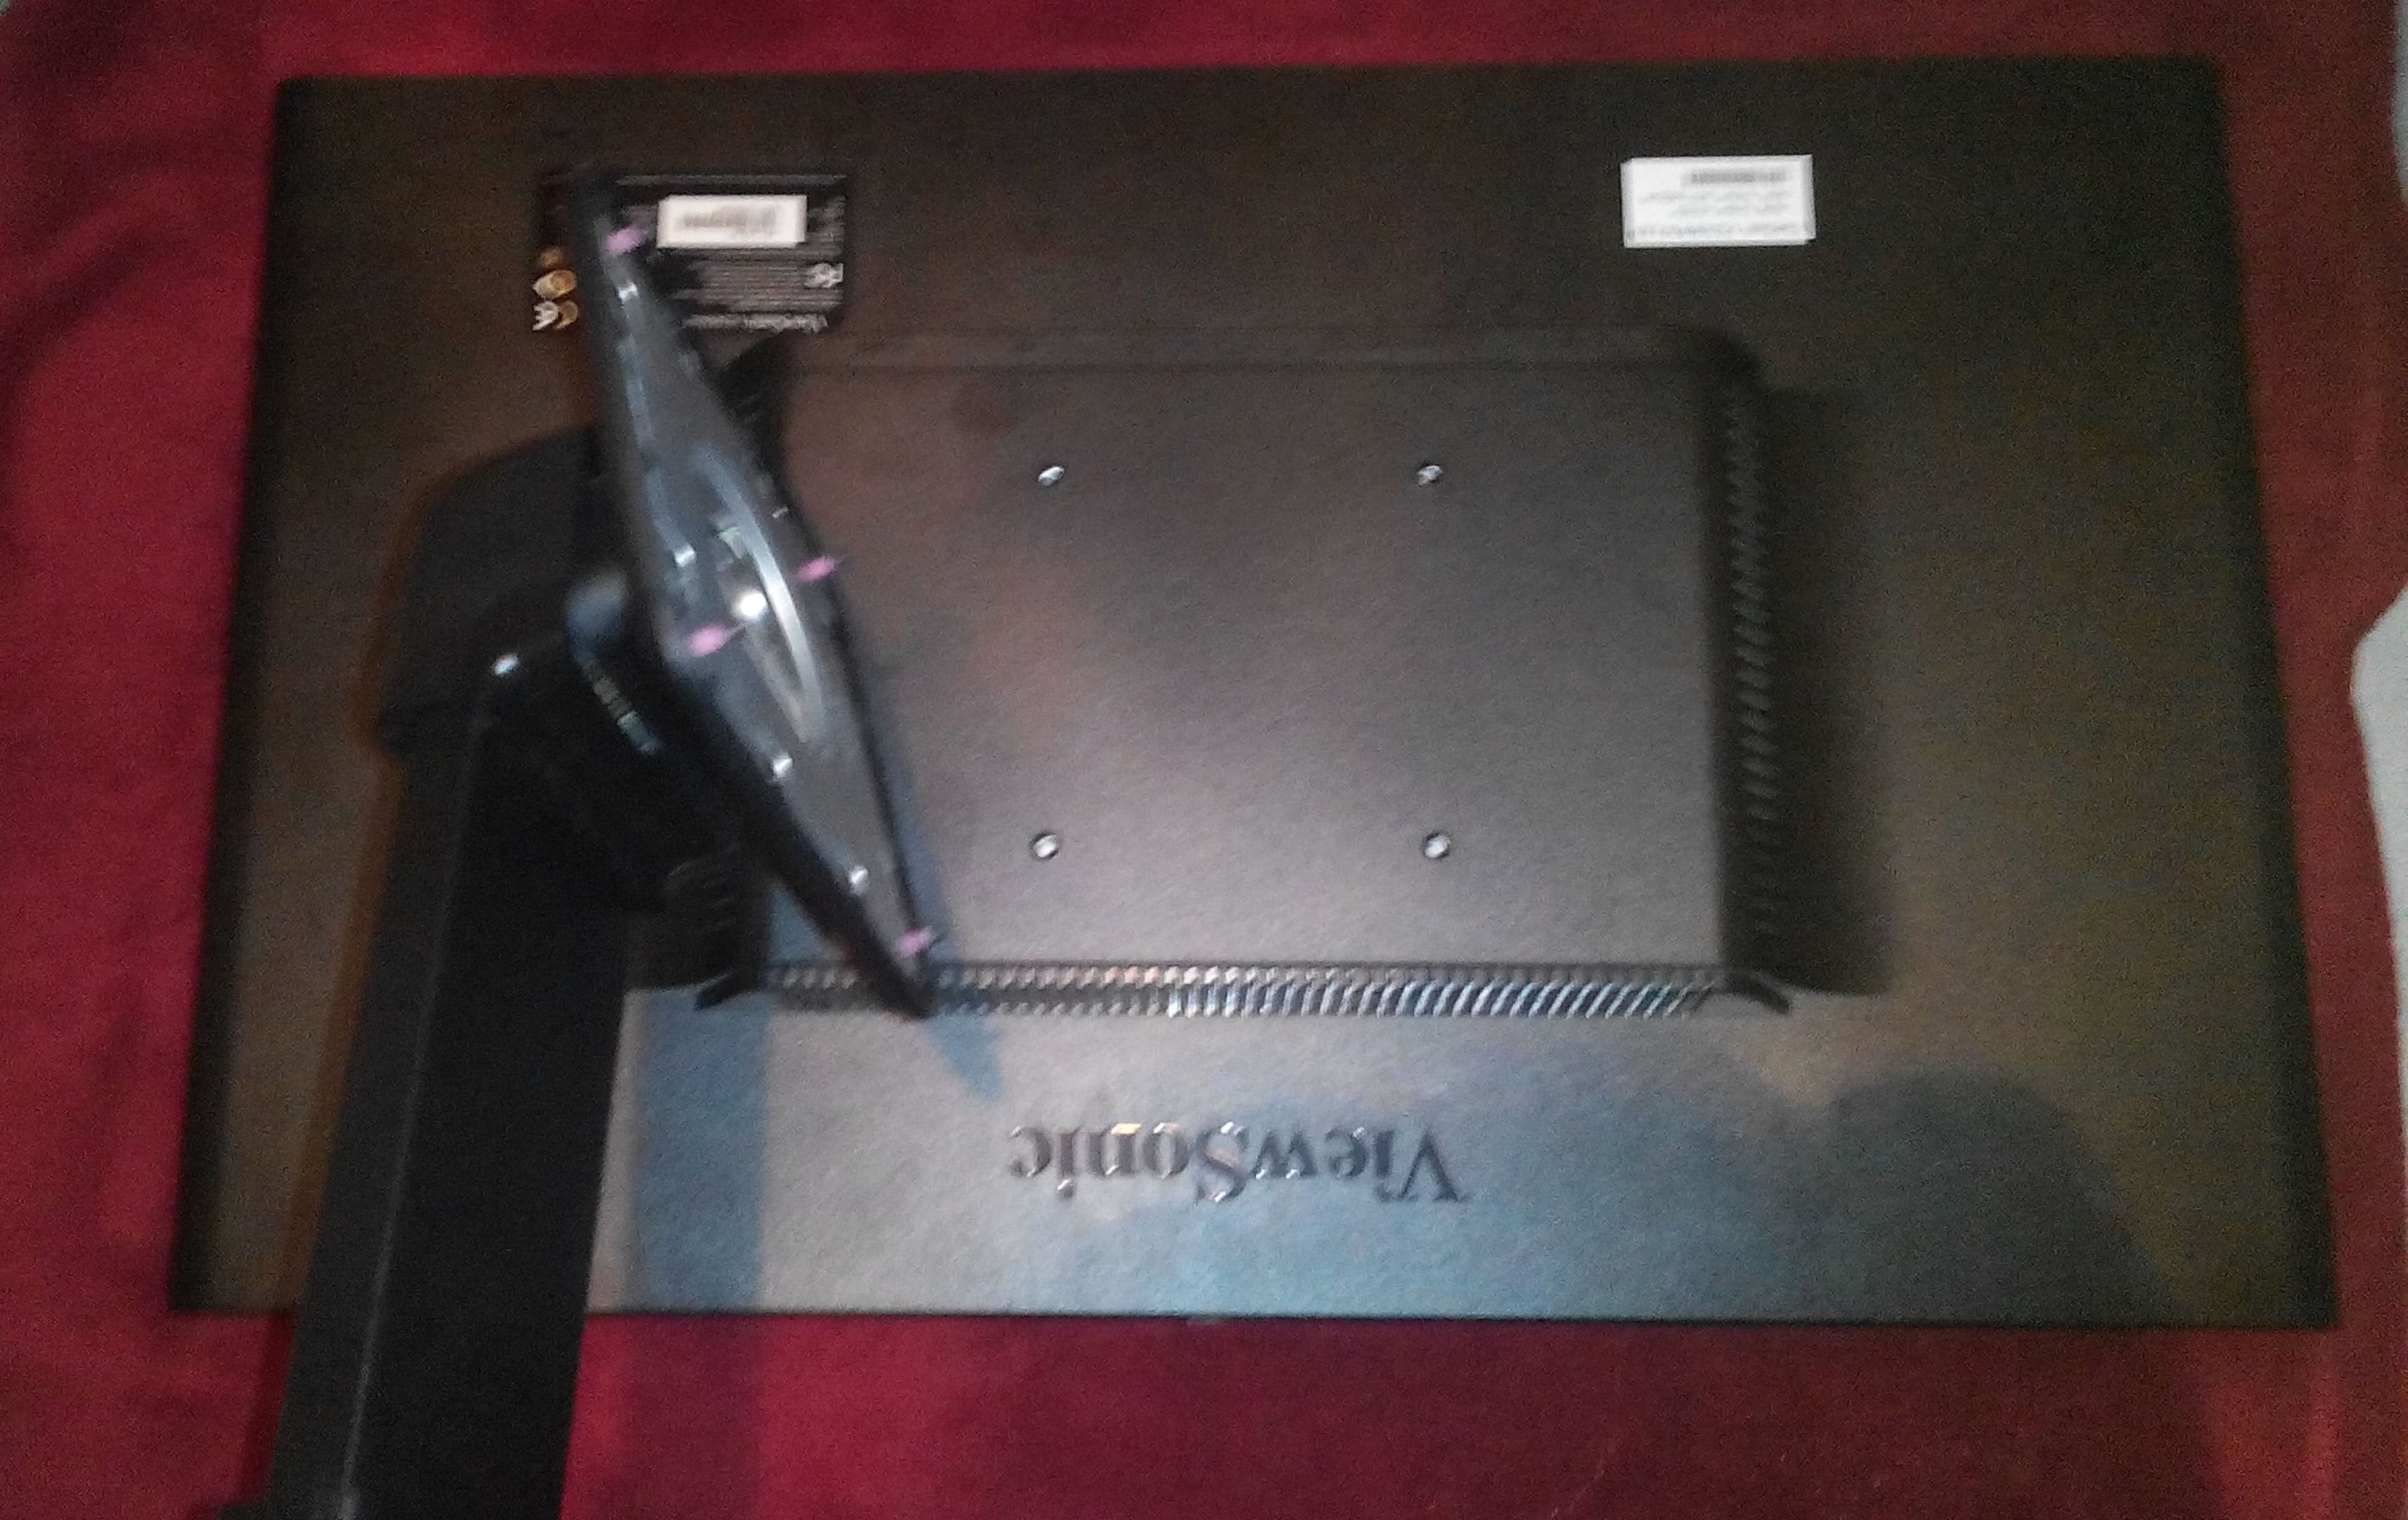
Take off the stand by loosening the 4 cross-head screws.
Remove Front and Back Plastic Surrounds
The stand was the very easiest part. There are no more screws :-(
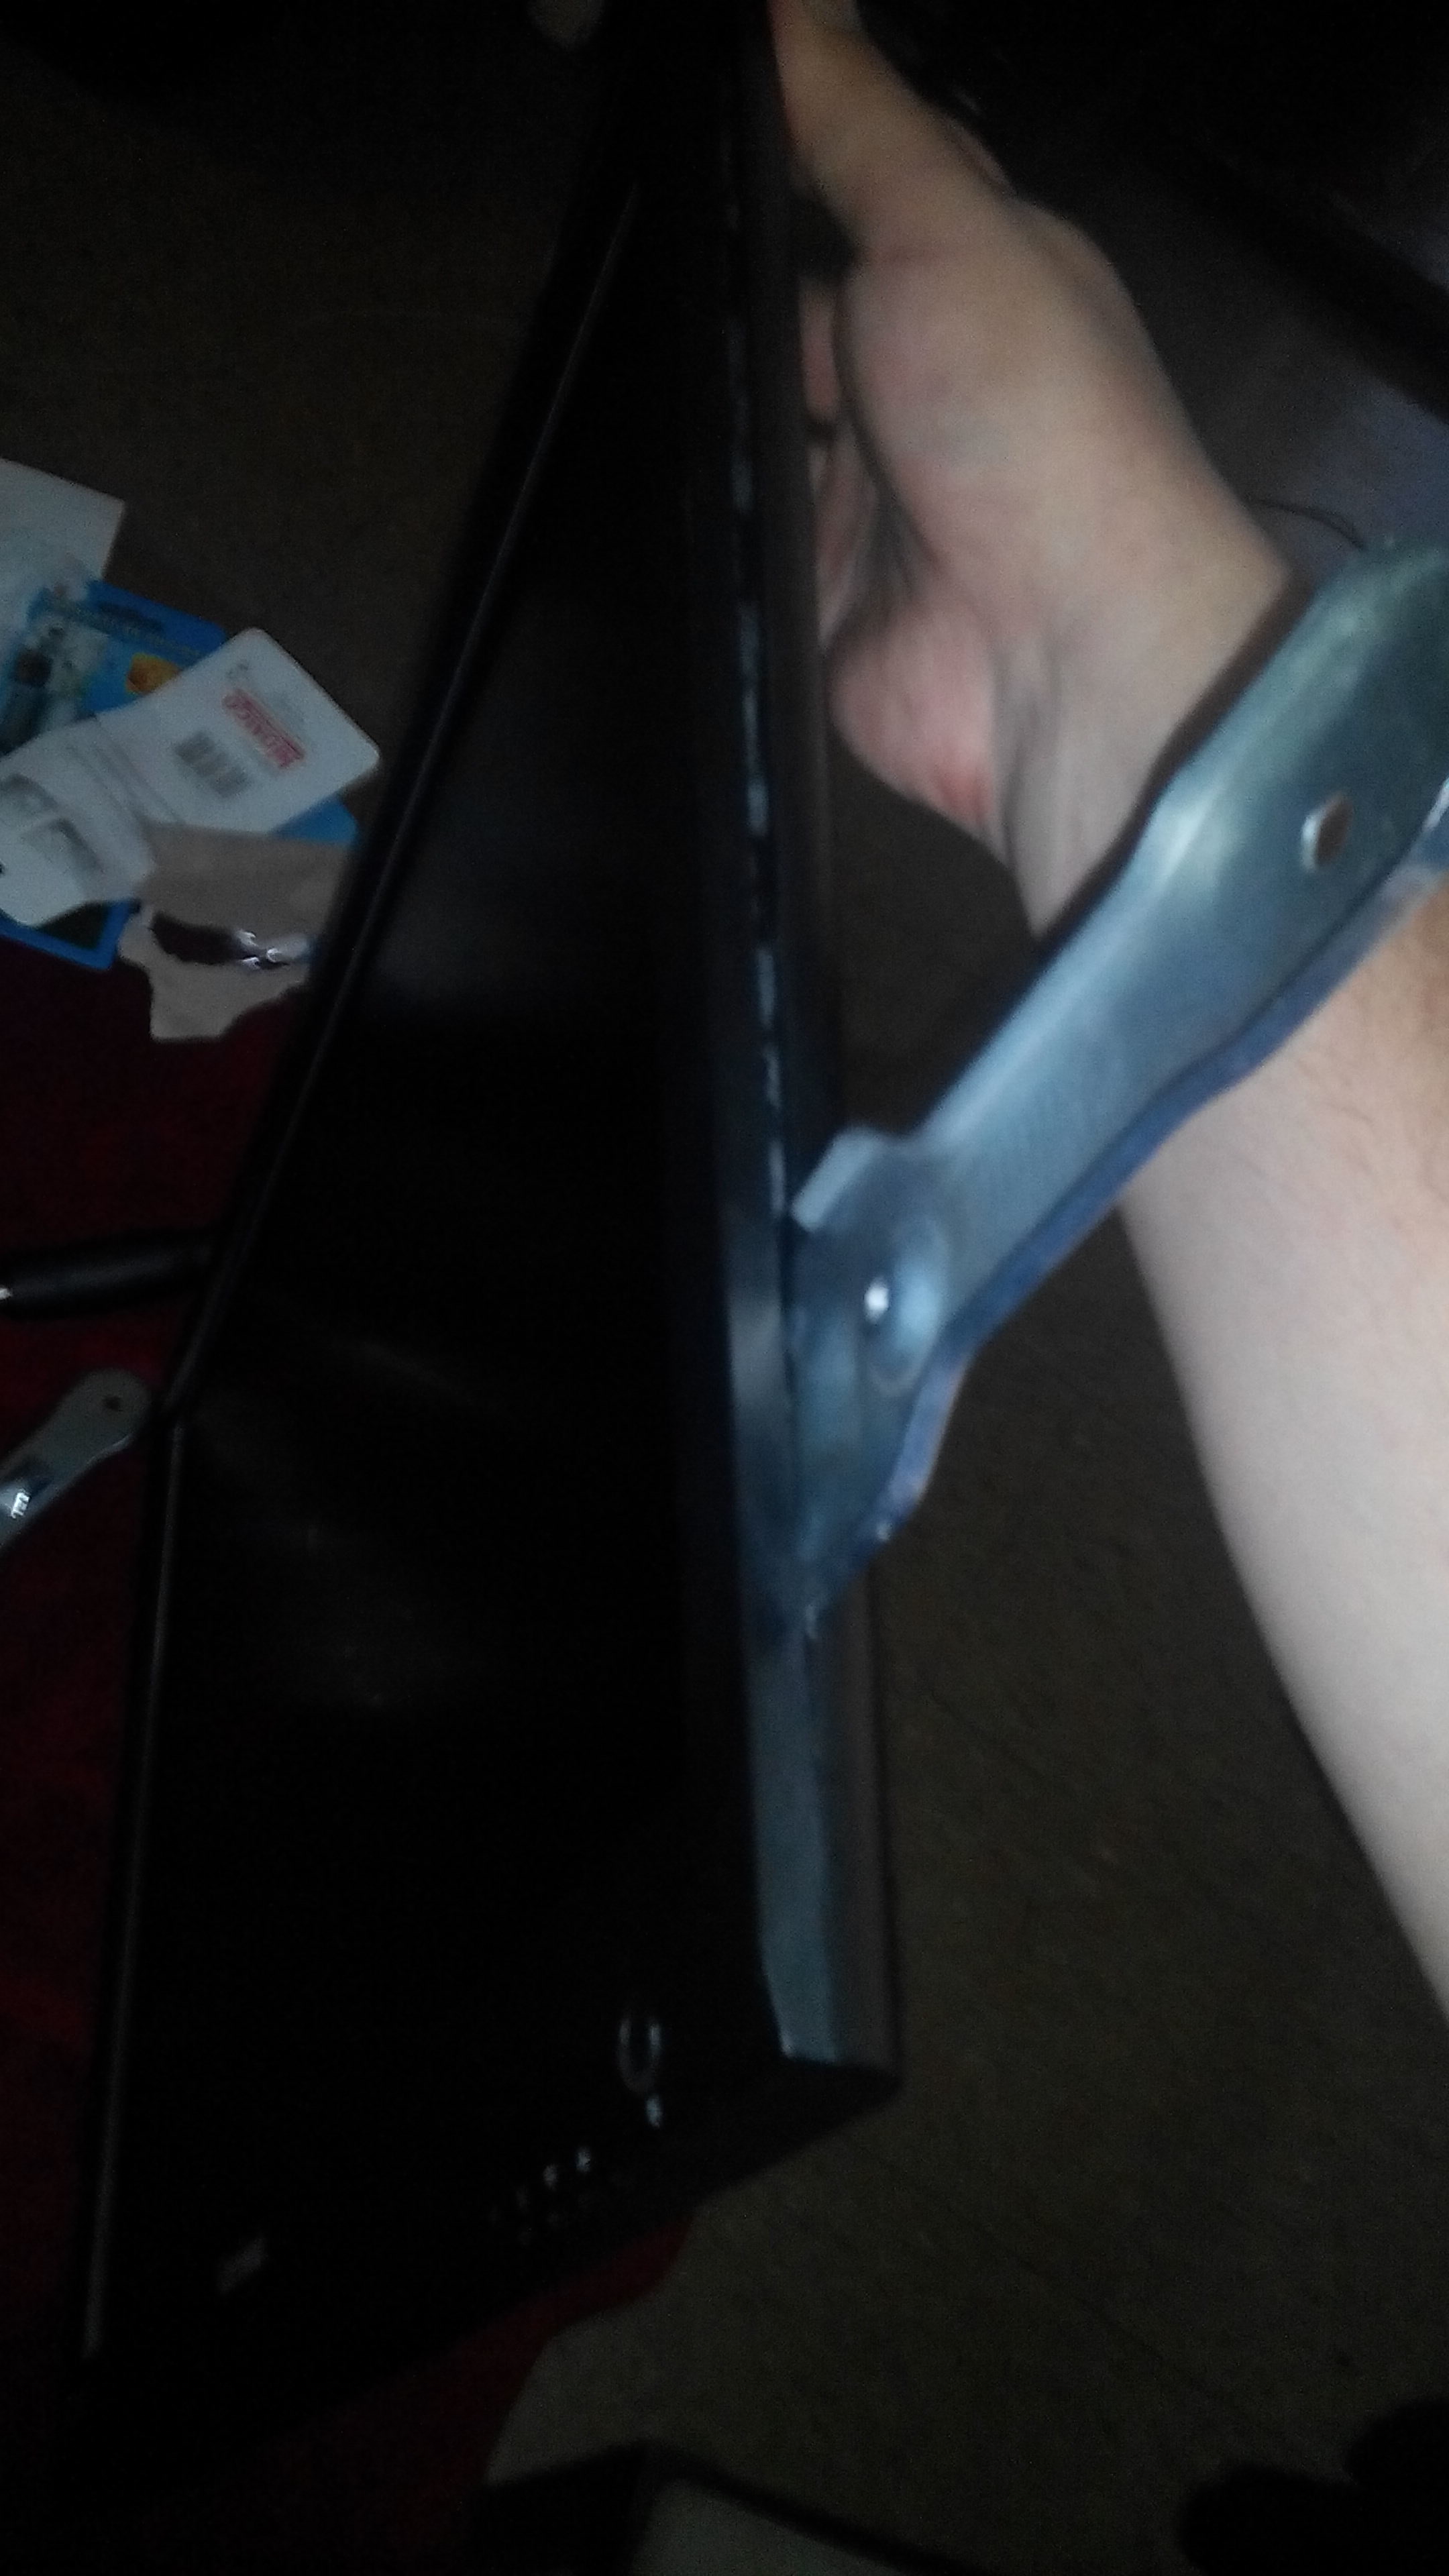
Next is to prise the front and back pieces of black plastic surround apart. You will need something thin to fit in the crack, and wide in order to lower the possibility of damage you will do to the surround. Ideally you would use something plastic to do this, but with the forces required to prise these apart you may have to resort to something metal. I used part of a handle off something.
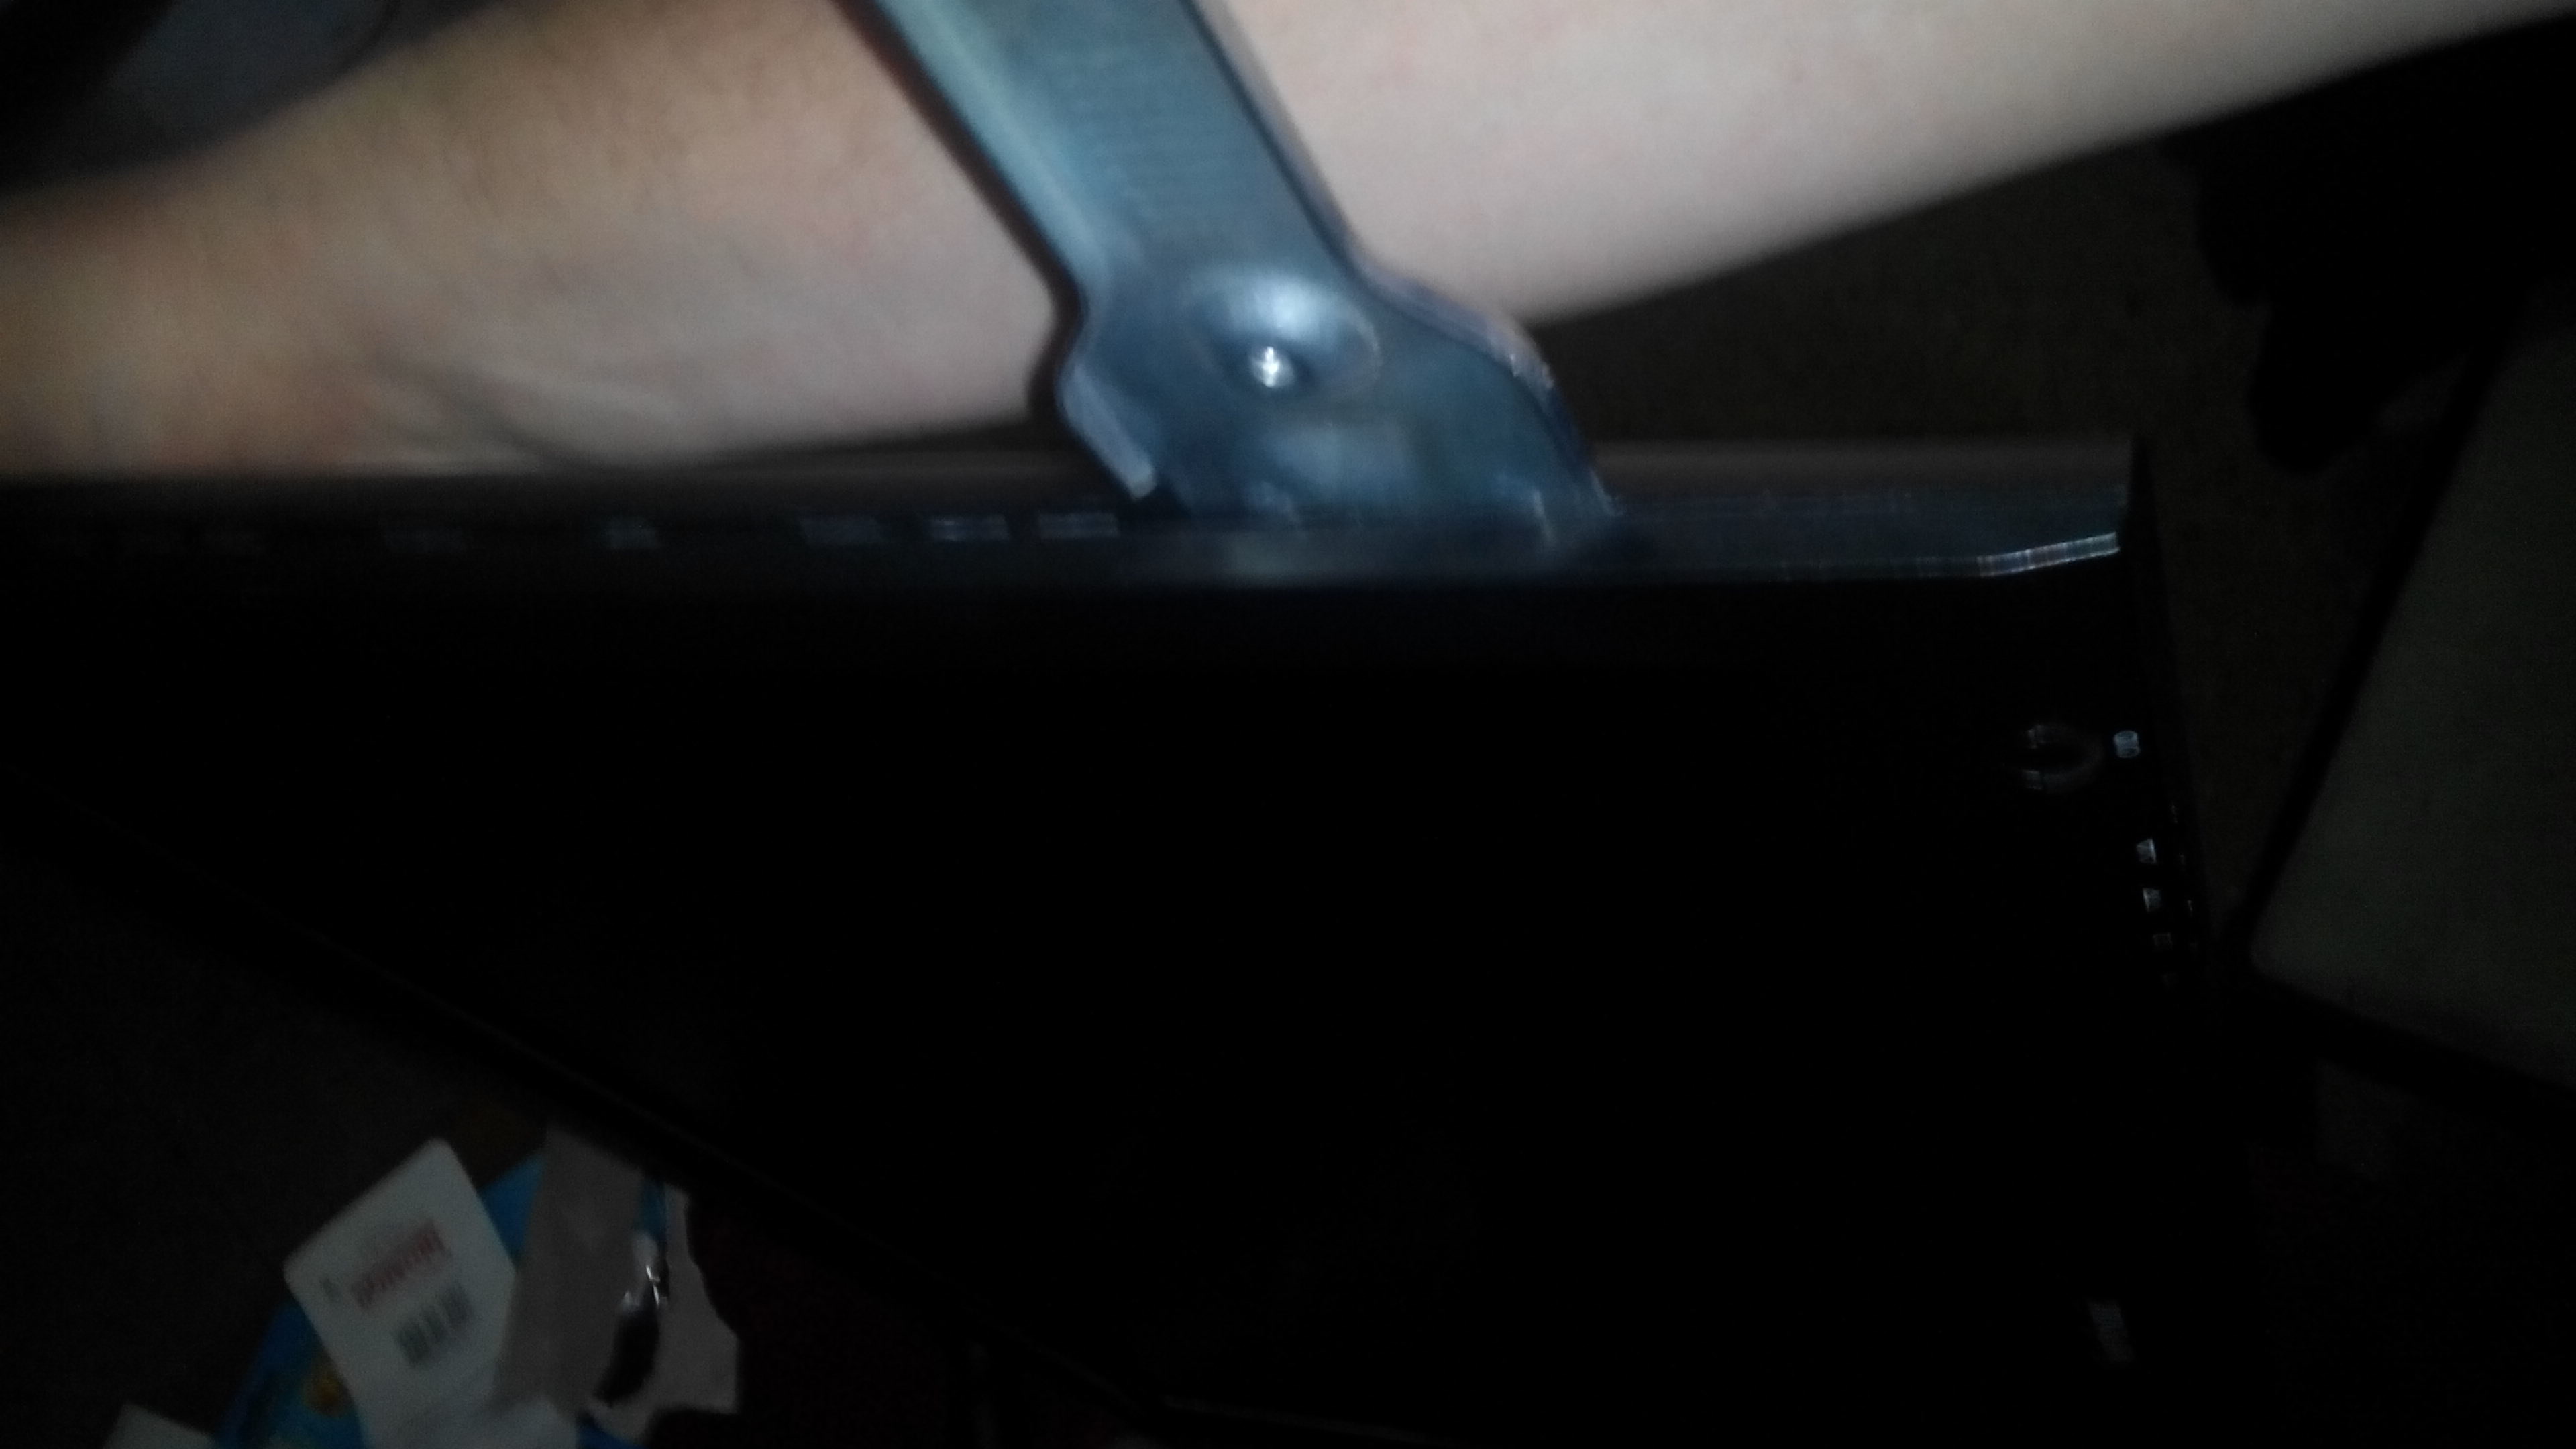
I starting prising and popping tab clips at the right hand side of the screen. You could start at the top or left as well, but not the bottom. Read below.
The front and back pieces of plastic are clipped together, and sit around the panel and workings inside. Only the front piece of plastic surround is connected to inside workings, which is at the bottom. Great care must be taken not to snap any of the plastic, but also great force must be used to prise them straight apart. BE CAREFUL!!! or you can very easily break something.
Once inside, keep being careful, as nothing is screwed together. Things are literally held together with tape in here!
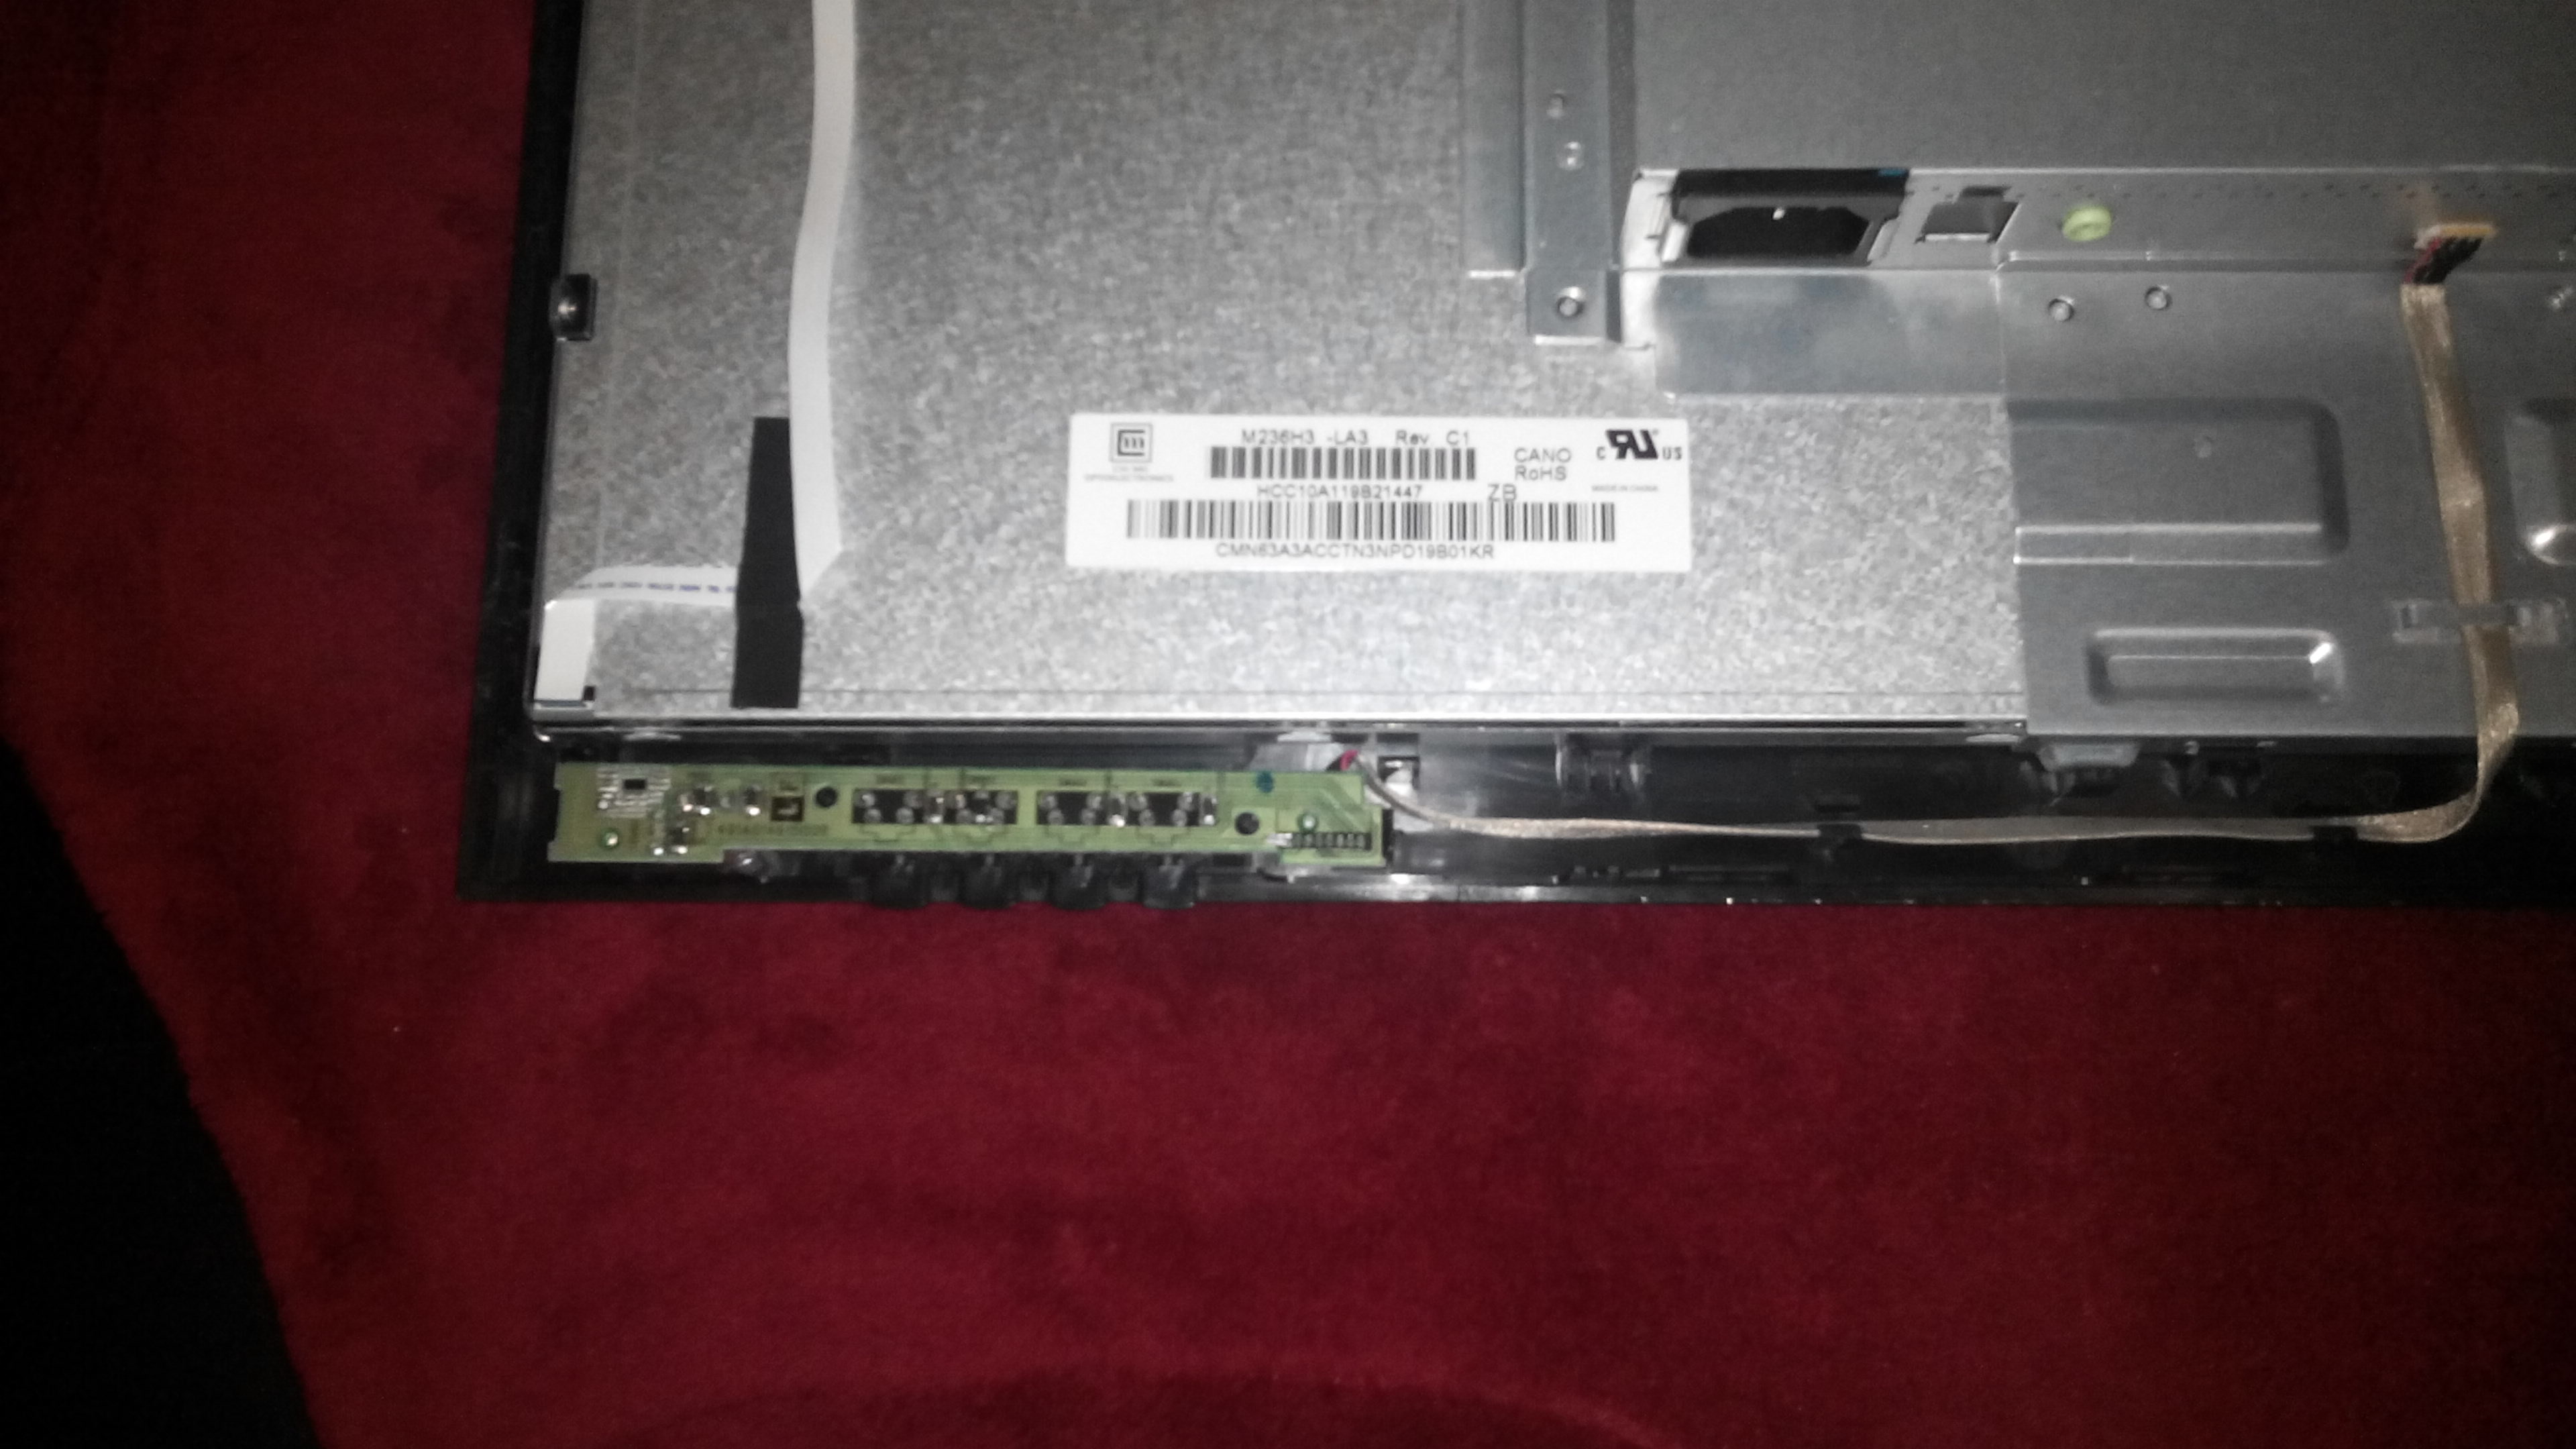
In this picture you can see the buttons connected to the front surround. These are easily unclipped.
Then the last part is to disconnect the bottom of the plastic front surround. It came apart easily by turning screen facing up, then pulling the bottom of the bottom edge of the front surround upwards to unclip it from the inside workings.
This is as far as I got because of how the rest of the unit is held together.
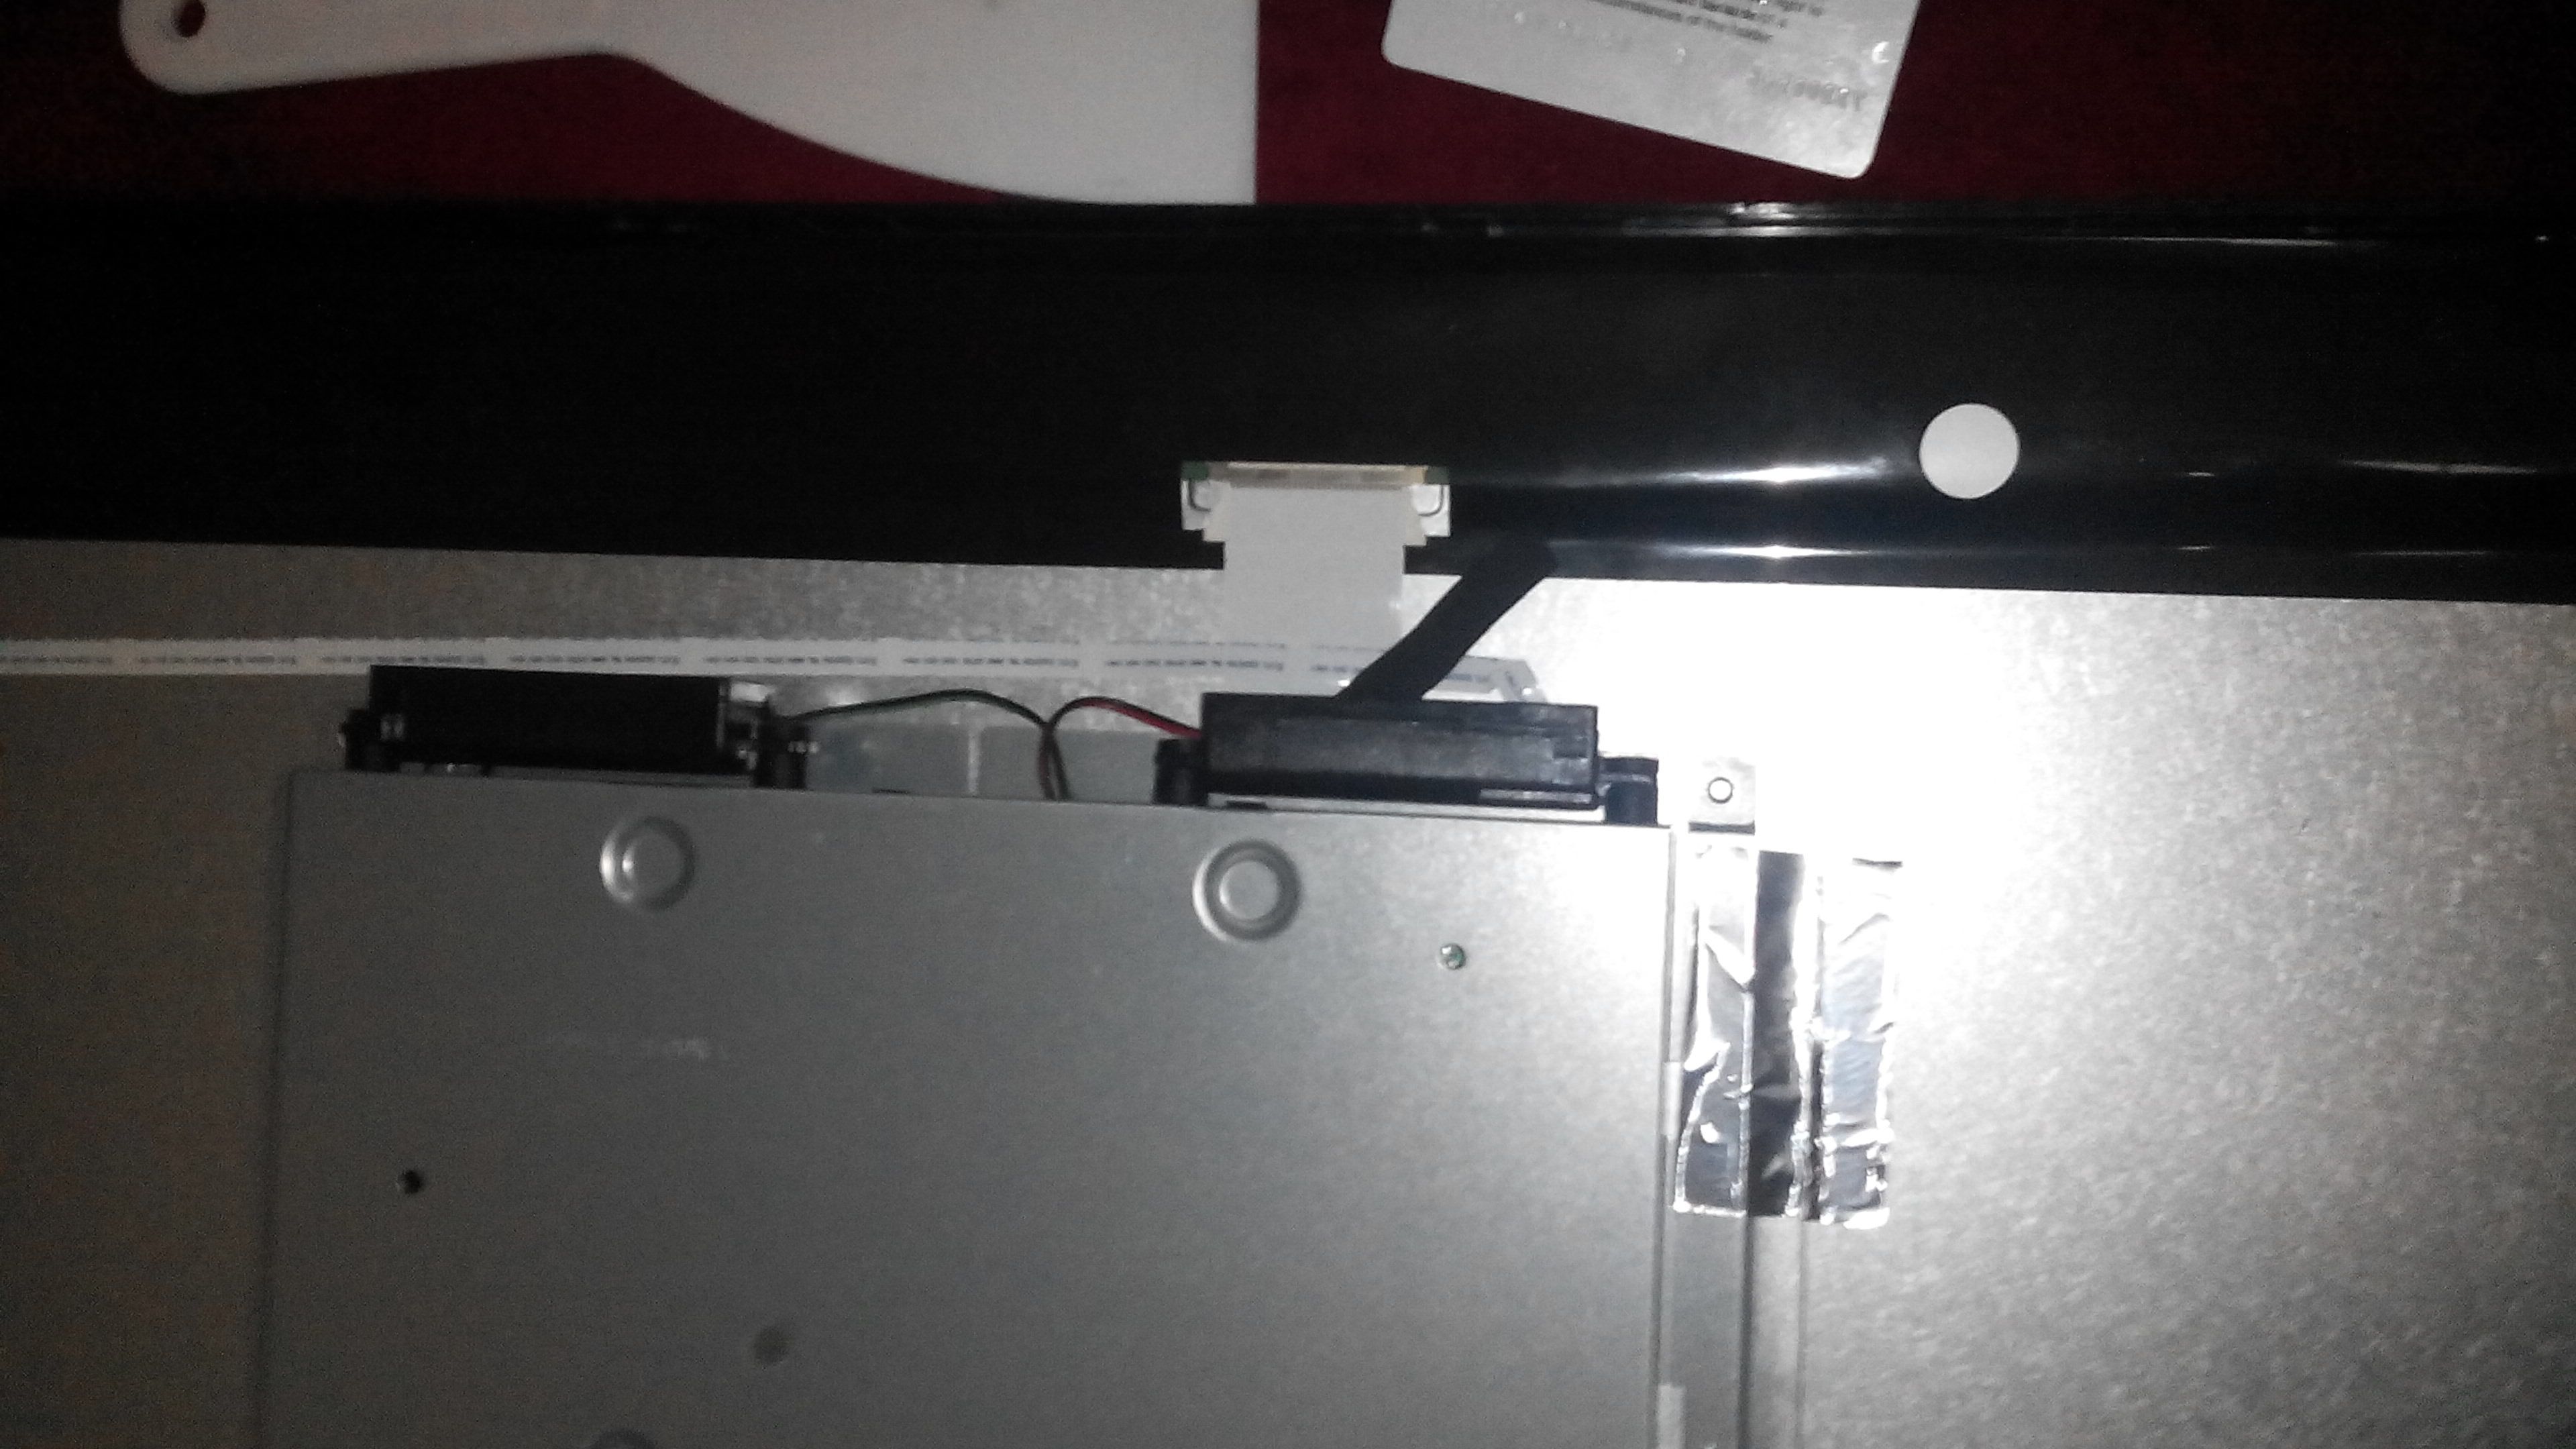
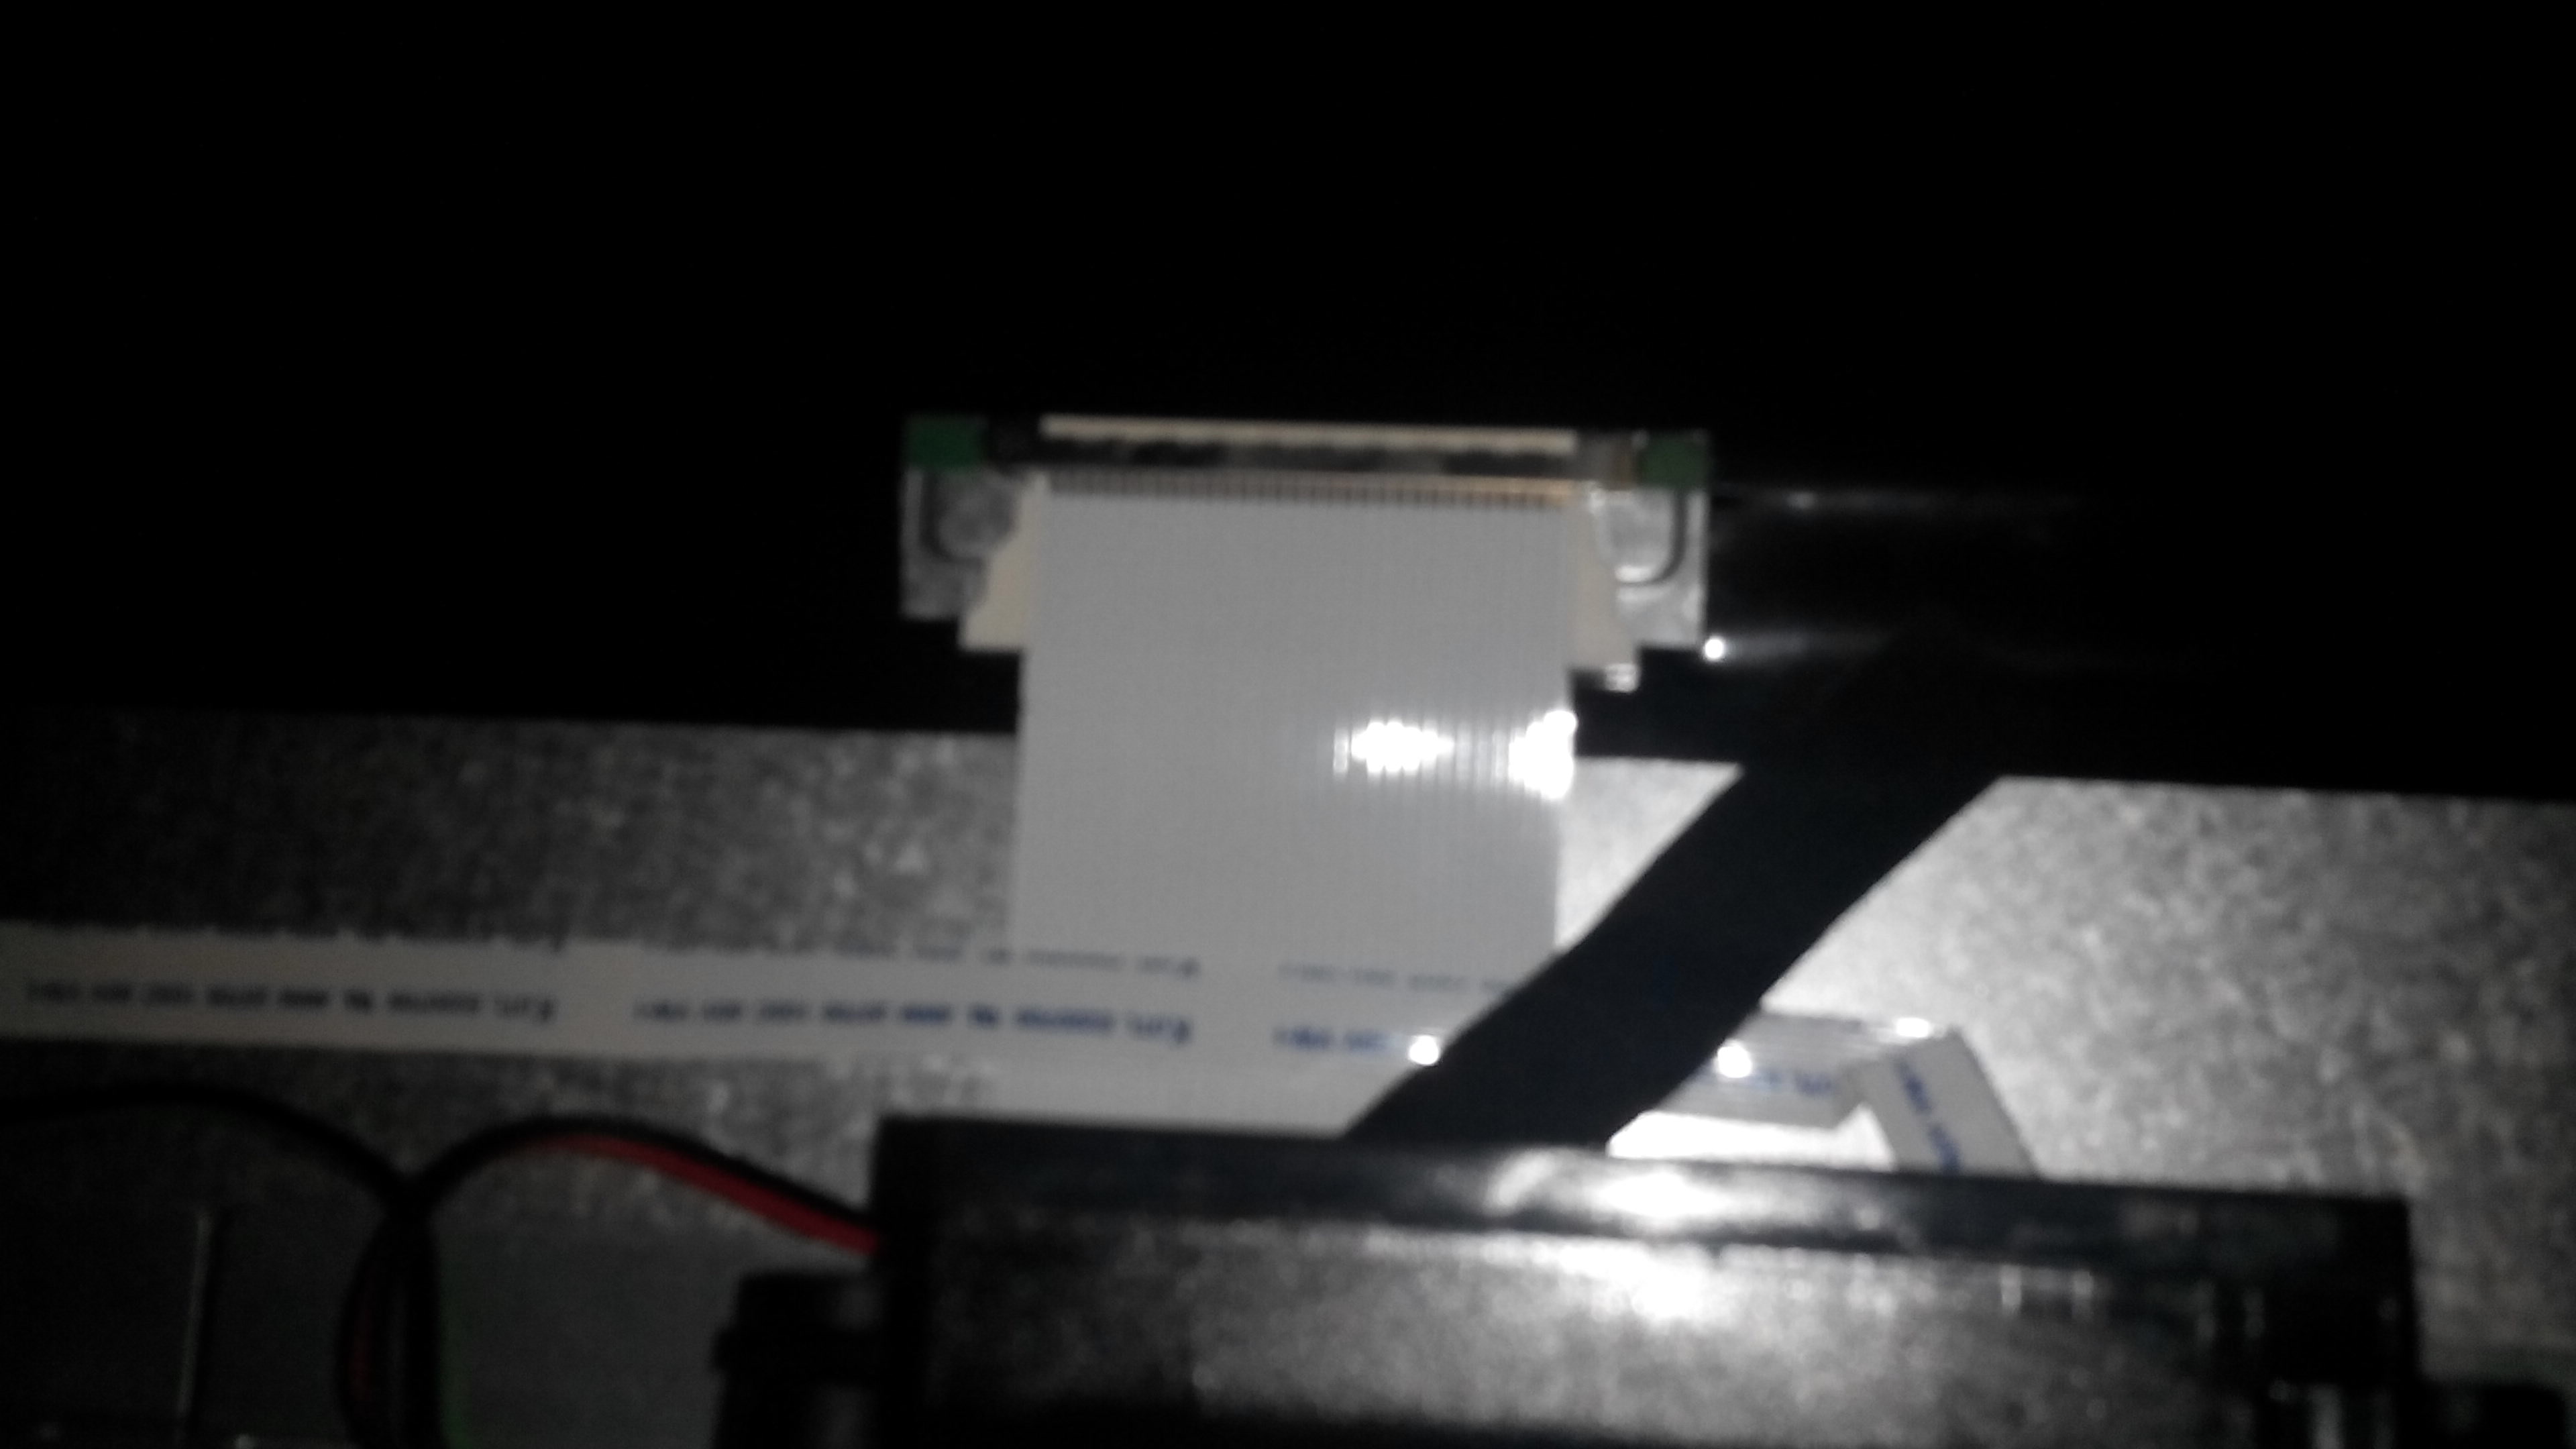


Here you can see a piece of silver conductive tape is all that holds the input/power box to the screen panel. The “input box” connects to the panel via two wiring connectors. One is removable, the other seems to be fixed :-(
That’s as far as I bothered with as I was pretty disappointed after all the effort of getting the plastic surrounds open, but I hope this helps somebody.